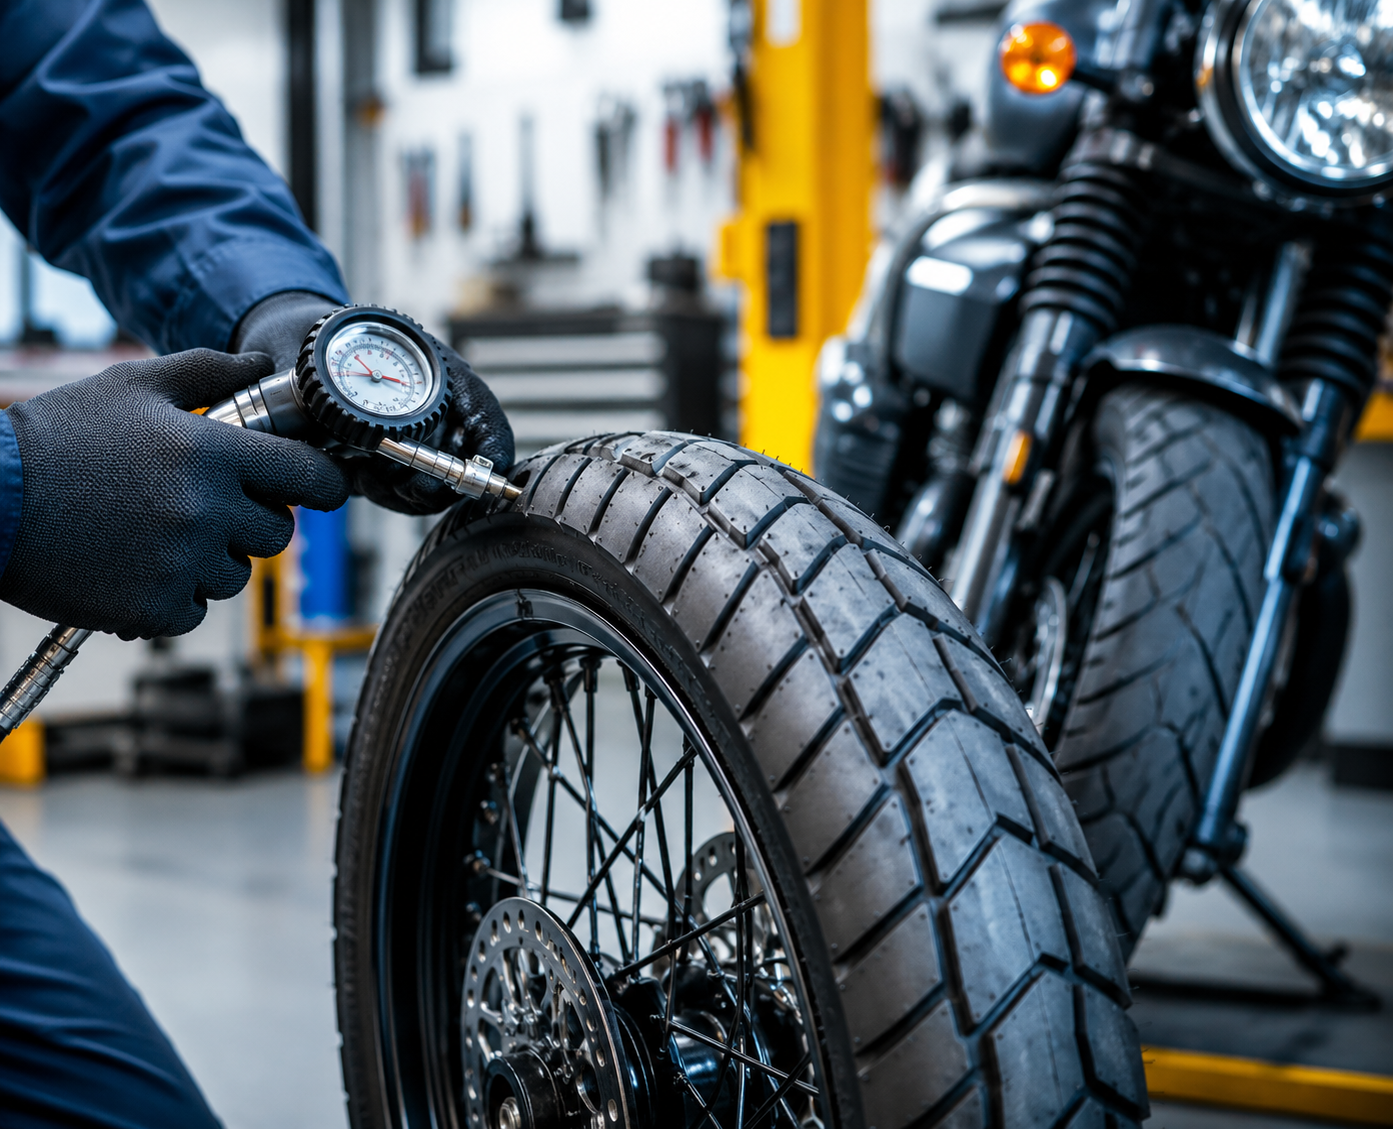
Your tyres are the only part of your motorcycle touching the road, so they're well worth a your attention. It only takes a few minutes to check their condition and pressure.
Tyre Pressure
Tyres naturally lose a small amount of air over time. Keeping them at the correct pressure helps ensure the tyre sits on the road as it was designed to, giving you the best possible grip, stability and confidence. It can also help your tyres last longer and improve fuel economy.
If your tyre pressures are too low, the bike can start to feel a little vague or sluggish, particularly when cornering. The tyres may also wear out more quickly and won't provide the level of support and grip you would normally expect.
If the pressures are too high, the ride can feel harsher and the tyre may not maintain as much contact with the road surface as intended.
The good news is that checking your tyre pressures only takes a few minutes and is one of the simplest things you can do to help keep yourself safe, improve the way your bike rides and potentially save money in the long run.
How do I know what pressure my tyres should be?
Look in your owner's manual, or for a sticker under the seat, on the swingarm or frame. The recommended pressure will be different for solo riding, two-up or touring.
Its worth taking a photo to save them in your phone.
How often should I check my tyre pressure?
Along with a quick visual check before every ride, it's a good idea to spend a few minutes each month checking their condition and pressure.
Ideally you should check your tyre pressure every couple of weeks, but also before a long trip and after a significant temperature change.
Okay, so how do I check my pressure?
A portable gauge is a worthwhile investment as you can use it before you ride anywhere.
Oxford Digital Tyre Pressure Gauge OX751 · Simple and compact, with a backlight, handy in a dimly lit garage.
Start with cold tyres.
Move your bike wheel so you can see the little valve on the inside of the wheel
Unscrew the little cap (put it somewhere safe!) to expose the valve stem
Press the tyre pressure gauge firmly onto the valve stem until the hissing sound stops and the reading stabilizes.
I am a little low - Next steps?
You can head down to the garage and use the forecourt air inflator, but lets face it, you want to be safe getting there. So our best advice is to invest in a great piece of kit that will read your tyre pressures and inflate them.
Now this is where you can be the most popular person in the bike night car park or on the rally field because our recommended bit of kit is the AstroAI Tyre Inflator
Its compact and portable, can be recharged via an included USB cable and also serves as a USB powerbank to charge your devices on the go. It also has an LED torch.
To use it, turn it on, set your chosen pressure, and connect the gauge to the valve stem as before and when its finished inflating it will beep. Job done. (after you've located and replaced the teeny valve cap of course!)
So now I'm all set to go, right?
One more important step - your visual inspection.
Tyre Condition
Look out for uneven wear patterns, cracks, bulges, or embedded objects on the tyre surface as they can affect handling and stability. Look closely for sidewall cracking, splits in the tread, bulges or deformities, and embedded objects such as nails or stones.
Cracking is often a sign of rubber aging, changing temperatures and exposure. Another potential cause for sidewall cracking is hitting curbs or potholes at high speeds. When this happens, it puts extra pressure on one side of the tyre, which could result in a crack forming if enough force is applied. Some cracks can be cosmetic, but if you notice these then it's sensible to have them checked.
Don't ignore a bulge, that is a sign of internal structural damage and should be inspected immediately.
Tyre Wear
Start by looking at the wear of your tyre. Legally you must have 1mm of tread depth across the central three-quarters of the tyre's width, around its entire circumference, to be safe in wet conditions though at least 2mm is recommended. Less can leave you at risk of hydroplaning and compromised braking.
Your tyres will have wear bars - small raised sections located within the grooves of the tire tread (see the four lines in the picture below). They serve as indicators of tread depth; when the tread reaches the level of the wear bars, it is at 1mm.
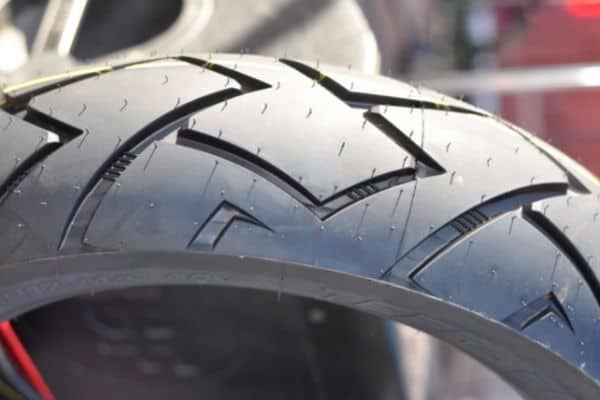
Of course our tyres don't ever look that pristine, and we don't want to reach that 1mm point so our recommended, very useful piece of kit is a Tread Depth Gauge, check out the Preciva Digital Tyre Tread Depth Gauge. You just pop the tip into the groove.
Consider the age of your tyres regardless of tread condition and aim to replace them every 5-7 years even if you have sufficient tread to prevent degradation.
What can my tyre wear tell me about my riding?

Centre wear - caused by putting in lots of straight-line miles where the bike sits upright and all the weight loads the centre of the tyre. check your tyre pressure. Over-inflation accelerates centre wear because the tyre bows outward and contacts the road only at the very peak. If your pressure is correct, the wear is purely mileage-related. You can continue riding, but a squared-off tyre wants to track straight and resist leaning, so be aware.
Edge wear - The outer shoulders of your tyre are worn down while the centre still has depth. Two culprits here. First: underinflation, which causes the tyre to sag, contact the road on its shoulders rather than its crown, and generate more heat on the edges. Second: riding style. If you spend a lot of time on twisty roads, or track days, you’re loading those edges hard. If you’re seeing edge wear without a lot of twisty mileage, under-inflation is almost certainly your issue.
Cupping or Scalloping - A series of hollowed-out scoop marks or waves across the tread surface. Run your hand along the tyre and instead of feeling a smooth progression, you feel a rhythmic series of high and low spots. This is almost always a suspension problem. Worn shock absorbers, blown fork seals, or incorrect spring preload settings mean the wheel is bouncing and hopping rather than maintaining consistent road contact. Every time the wheel hops slightly, it grinds into the tyre a little differently, and over time that creates those distinctive scallop marks. Some aggressive braking habits can also create isolated scallops on the front tyre. Do not ignore this one. Cupping is telling you that your suspension needs attention, and that means your handling and safety margin are compromised — not just your tyre wear.
One sided or Asymmetric wear - Stand behind the bike and look straight down at the rear tyre— you’ll see the tread depth drop off sharply on one side. Wheel misalignment is the number one cause. If your rear wheel isn’t tracked in line with the front, you’re loading the tyre unevenly on every mile. Get a wheel alignment check immediately. This isn’t a wear-it-until-the-next-service thing — misalignment creates handling that feels vague and unpredictable, particularly mid-corner. Your bike needs a proper inspection before you put more miles on it.
Flat Spots - A very localized, often sharply defined flat area on the tyre— usually on the front. Unlike center wear which is gradual and spread across the width, a flat spot is a small, precise patch where rubber has been abraded away. This can happen from hard braking that locks the wheel. If you’ve grabbed a handful of front brake and felt the wheel skid — even briefly — you’ve likely put a flat spot on the tyre. It can also happen from an extended parking period (the bike sitting in one position for months, leaving one spot of the tyre loaded under the weight). A significant flat spot means tyre replacement — there’s no fixing a piece of missing rubber. If it’s small and you can feel vibration at speed, that tyre is done. This is also a prompt to evaluate your braking technique and ABS setup.